Anthony Morganti has presented an unbiased example of developing a Fujifilm raw file using both of the 2 most popular editors available today and demonstrates the shortcoming of each.
Almost Grey Nomads caravaning around Australia

Anthony Morganti has presented an unbiased example of developing a Fujifilm raw file using both of the 2 most popular editors available today and demonstrates the shortcoming of each.
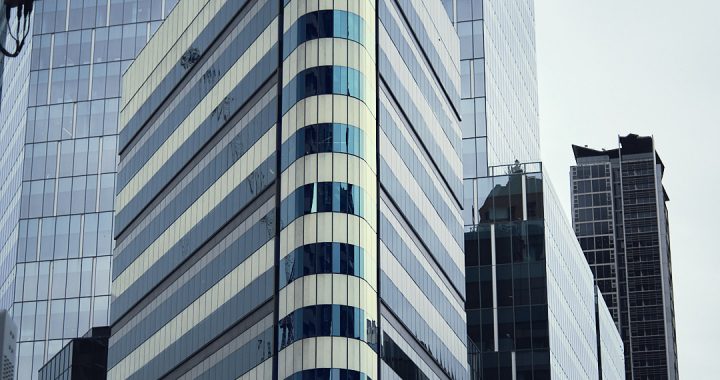
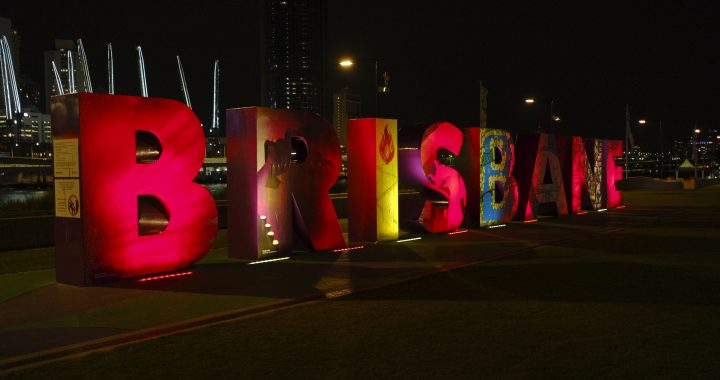
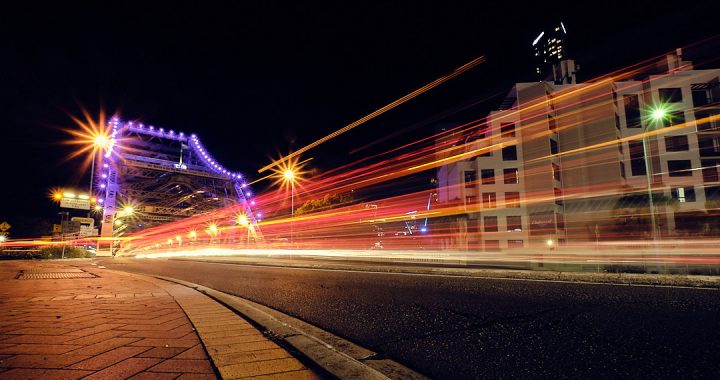
Wandering around Brisbane a few months ago I came across this building, I immediately thought about the Flat Iron building in New York.
While not as magnificent as the one in New York, this is as close as I am going to get to one.
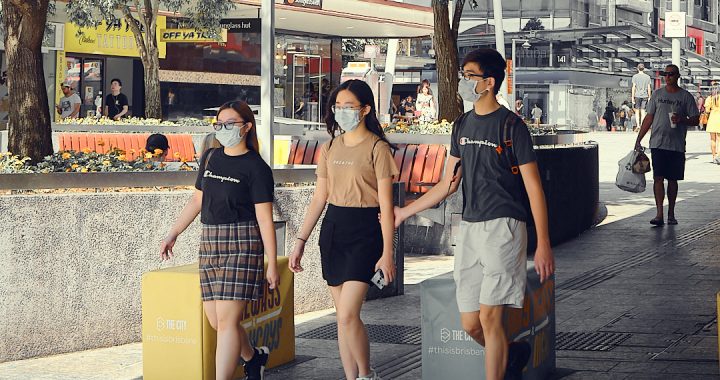
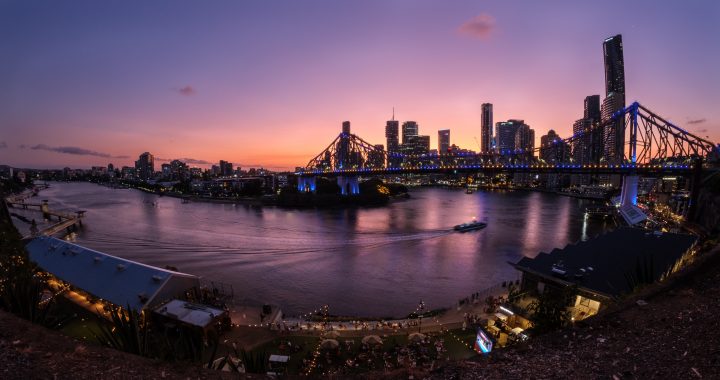
A walk around Brisbane CBD yesterday, just as many people with facemasks on as without.
2020 is turning out to be a tough year, and a bad start to the decade down here in Australia.
Life is whizzing past, already into the third month of the year.
My first outing with this neet little lens. I didn’t have my tripod with me so I just rested the camera on a fence to get this shot.
An excellent talk by Sean Tucker.
Sean gives perspective and possibly another use for Instagram. Certainly opened my mind to how I use Instrgram.
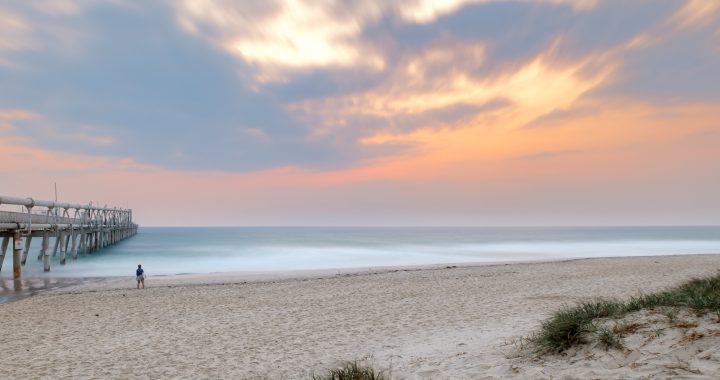
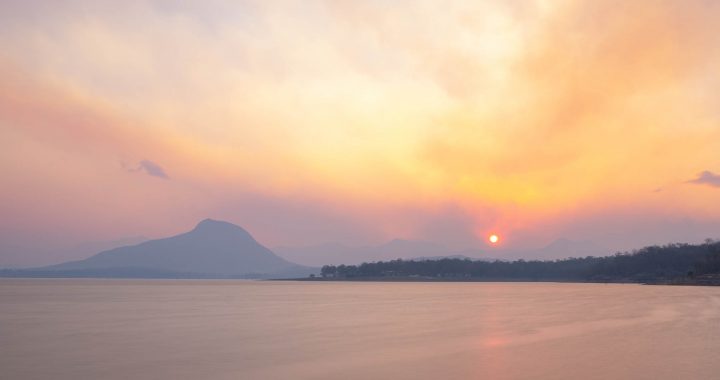
Fist sunrise shoot with my X-T3, I must say I am very happy with the image quality. Great sunrise with the lady standing still in the frame was a good piece of luck.
Second outing with the Fujifilm X-T3.
Plenty of fires around QLD and NSW, the firefighters are doing it tough at the moment.
This week I have got myself a Fujifilm X-T3 camera.
Fujifilm has piqued my interest since the launch of the X-T3 camera about a year ago, it was then that I began to think about mirrorless cameras. The X-T3 is an APS-C camera, the difference with Fujifilm is that they make first class lenses for their cameras, and since they are made for the crop sensor, they are about 2/3 the size and weight of a similar full frame lens. This is where Canon and Nikon let their APS-C systems down, they only make consumer grade lenses for their crop cameras. Sure you could just use a full frame lens on a crop camera body, but then you might as well get a full frame camera.
So, why the change? The last holiday I was on I quickly realized that the full frame Canon system I have is a bit of a beast to lug around. Excellent image quality, but wondering around during the middle of the day taking holiday pics I am sure I could have got the same shots using a smaller system with very similar results. So it got me thinking about trying out a new system.
But what to change to? Micro 4/3? Seems to me that if I went that small a sensor, I might as well just use a phone camera, after all there’re getting that good that doing holiday snap shots is no problem. My biggest fear with 4/3 system is the low light performance. When I did look into them last year I was thinking of getting second hand system to try out. The number one reason people seemed to be selling their micro 4/3 systems was to move to full frame.
Mmmm, maybe going from full frame to micro 4/3 is too much of a jump, after all I am a bit of a pixel peeper so if the image quality is not there……..
I haven’t made up my mind about whether the Fuji will replace my Canon gear yet, at this stage I want to try it out. I will write my thoughts out a bit more as time goes along so keep an eye out for my progress.
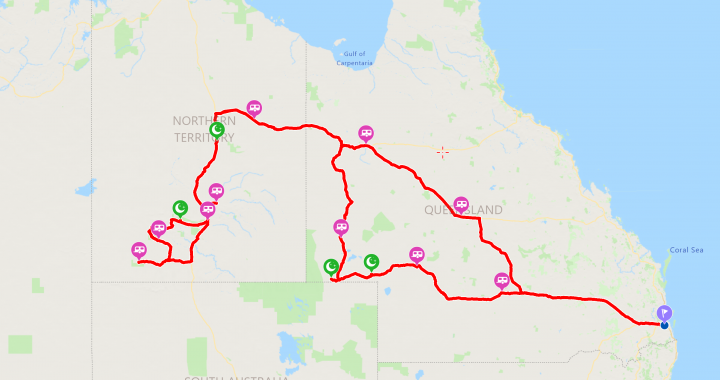
If you have been wondering why nothing has been getting posted here, it’s because of our highly anticipated holiday, 5 weeks in the great Australian outback.
I will make this a multi-part series of our trip, this being part 1.

Since we only had 3 days to get to the Big Red Bash the first day was a very early start. The general advice here in Australia is don’t drive at dusk or dawn since there can be Kangaroos, cattle etc wandering around on the roads, especially in the outback. We risked leaving Brisbane at this time as we needed to get to Charleville before dark on day 1, a massive 750Km. I figured the roads should be good condition, and being in a more urban environment we should be ok with the animals. Estimated about 8 hours should do it, plus rest stops.
We got to Charleville just before dark, set up camp then into town for a meal and to have a look around.
Early morning rise, quick breaky, and hit the road to Windorah. We certainly weren’t the only ones heading to Birdsville, plenty of caravans, 4wd’s, campers going in the same direction. This became more evident when we got to Windorah where we had to queue up for petrol. Lucky for us, we managed to get into the campsite just before it got filled up.
It is here that we could definitely say we are in the outback of Australia. Off to the local pub for a meal and some beers, the meal was good but $10 a can was a bit steep, so that’s where that idea ended. BYO at the campsite.

From here it was on to Birdsville, according to Google this could be done in 1 day, about 420Km. As it is also the longest stretch of gravel road we will be driving on, we’re not too sure what to expect.
We also wanted to have a look at the Beetoota hotel, Australia’s most remote pub, but they have been having licensing issues with the local council so we were not sure if they were going to be open, and also what facilities are there for campers. Turned out all was fine, good facilities, they were open and to boot they had a communal BBQ/fire pit, bring your meat and they will cook it for you, also the beers were $5 a can, unbelievable considering how remote the place is. So we stayed the night, lots of people around, great night.
To keep up to date with what’s happening with the hotel have a look at their Facebook page.
On to Birdsville, then the Big Red Bash. From Betoota it was only about 200Km of dirt road, so not too long. We were also getting used to driving on gravel roads, our technique was to keep the speed to around 80Kph, let the tyre pressures down about 10 – 15 %, and try to avoid the occasional big rocks that just happens to be in the middle of the road. You had to keep the speed up, otherwise, the corrugations in the road would shake the car to pieces.
We had to get fuel in Birdsville, lucky our car is petrol, no queue, while the diesel boys were out of luck, big queues and the town ran out. Got our tickets to BRB, then onto BRB itself, we managed to get there and set up camp by 3 pm. Time to relax and have another beer, or two. BYO this time.
It was great to get this far with no mishaps, and we had a great time. The Big Red Bash was a great experience, well organised, friendly people. Even though there was a lot of people around it did not feel crowded, the campsites had plenty of space around them.
Until the next instalment.