Port Hedland Turf Club is a free camp in the North West of WA, set up as a large, level red dirt area close to town. It is not a scenic bush camp, and there is no shelter, but it is practical if you are fully self-contained and want a handy base near Port Hedland.
We arrived early afternoon from our previous overnight stop and ended up using the full 72 hour maximum stay. For us, it worked well because we are set up for off-grid camping and the location was useful for shops, water, the dump point, and looking around Port Hedland itself.
Quick Facts
- Website: Camp Ground – Port Hedland Turf Club
- Type of stay: Free camp / self-contained camping area
- Dates stayed: May 2026
- Cost: Free
- Maximum stay: 72 hours
- Powered sites: No
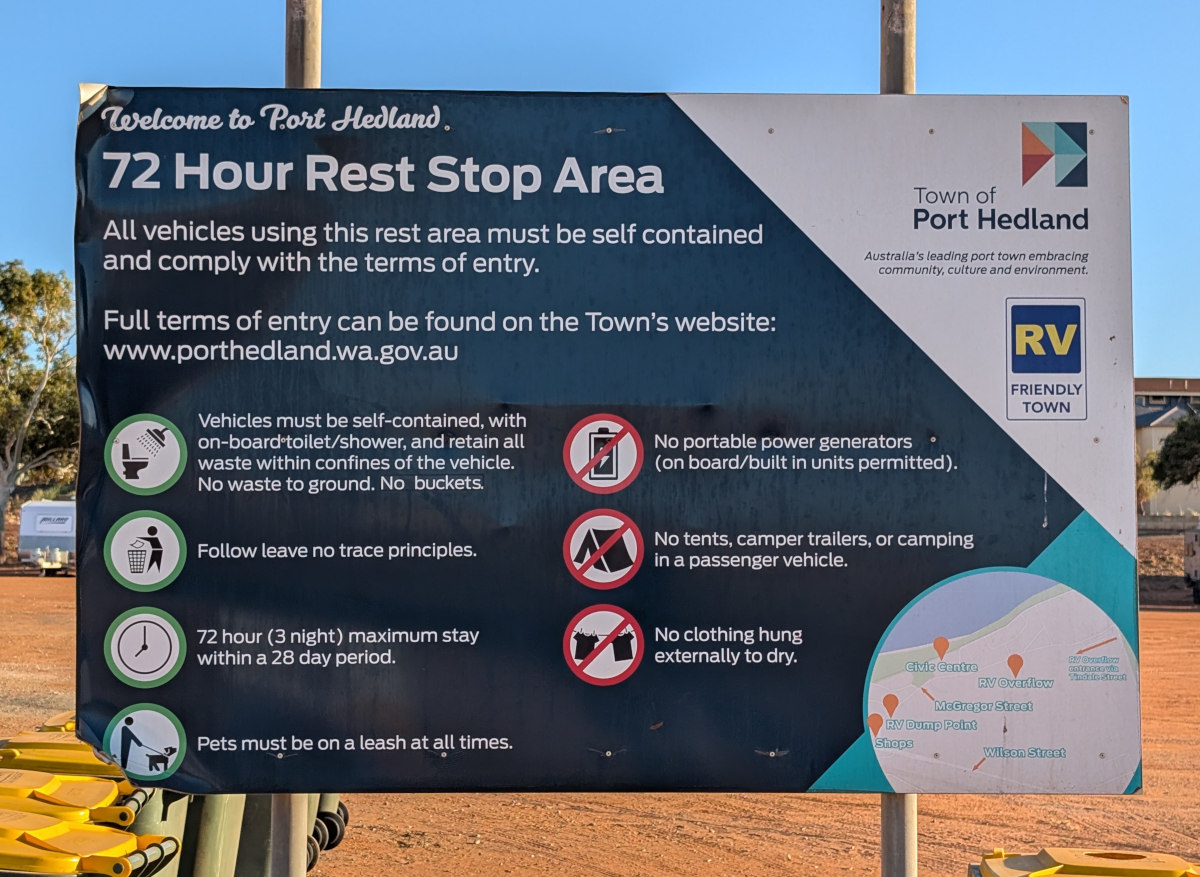
- Water: Potable water filling point at the entrance
- Toilets: No
- Showers: No
- Pool: No
- Pet friendly: Yes
- Telstra: Good
- Starlink: No problems
- Road access: Easy access, large level red dirt area near the main road
- Dump point: Nearby, as advised by the caretaker

Our Experience
The caretaker made a good first impression. He came over shortly after we arrived, gave us an information pamphlet about the area, and had a friendly chat. He pointed out the potable water, nearby dump point, and local shops. That sort of local knowledge is always useful when you arrive somewhere new.
Facilities are minimal, and this is very much a self-contained campground. There are no toilets or showers, and campers are expected to leave no trace, with nothing emptied or discarded on the ground. If you are not set up for off-grid camping, this probably isn’t the place for you.
There is a potable water filling point at the entrance to the campground, which is convenient before settling in. The nearby dump point is only a short drive away, making it easy to service your caravan before continuing your travels.
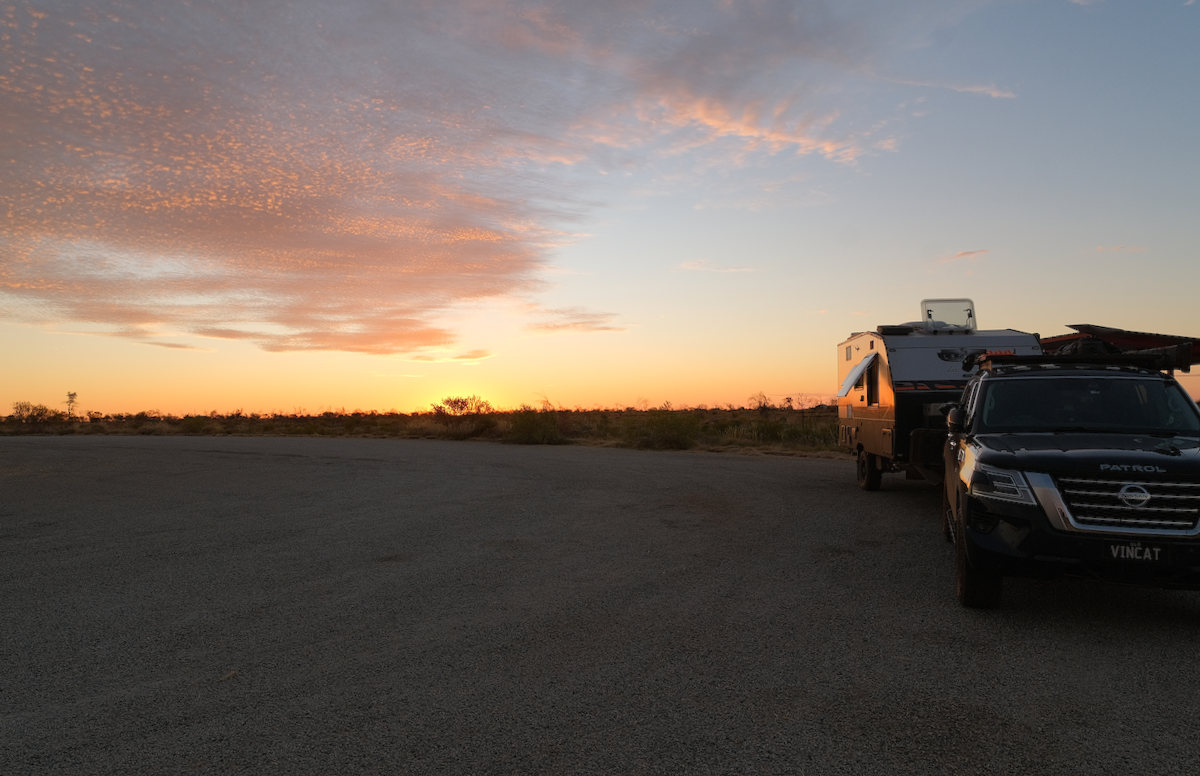
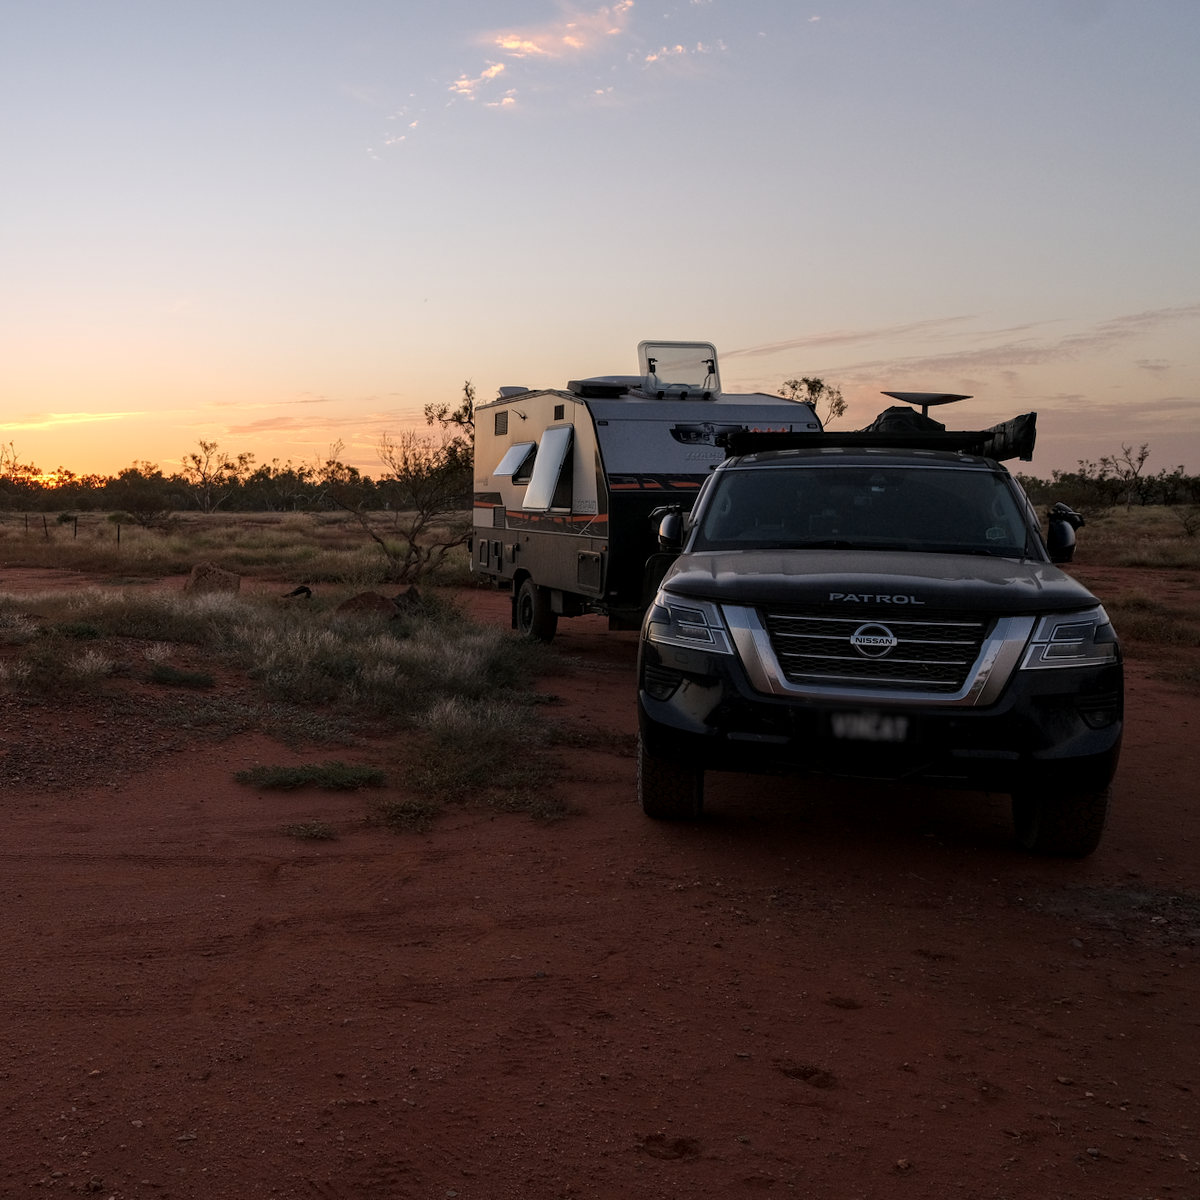
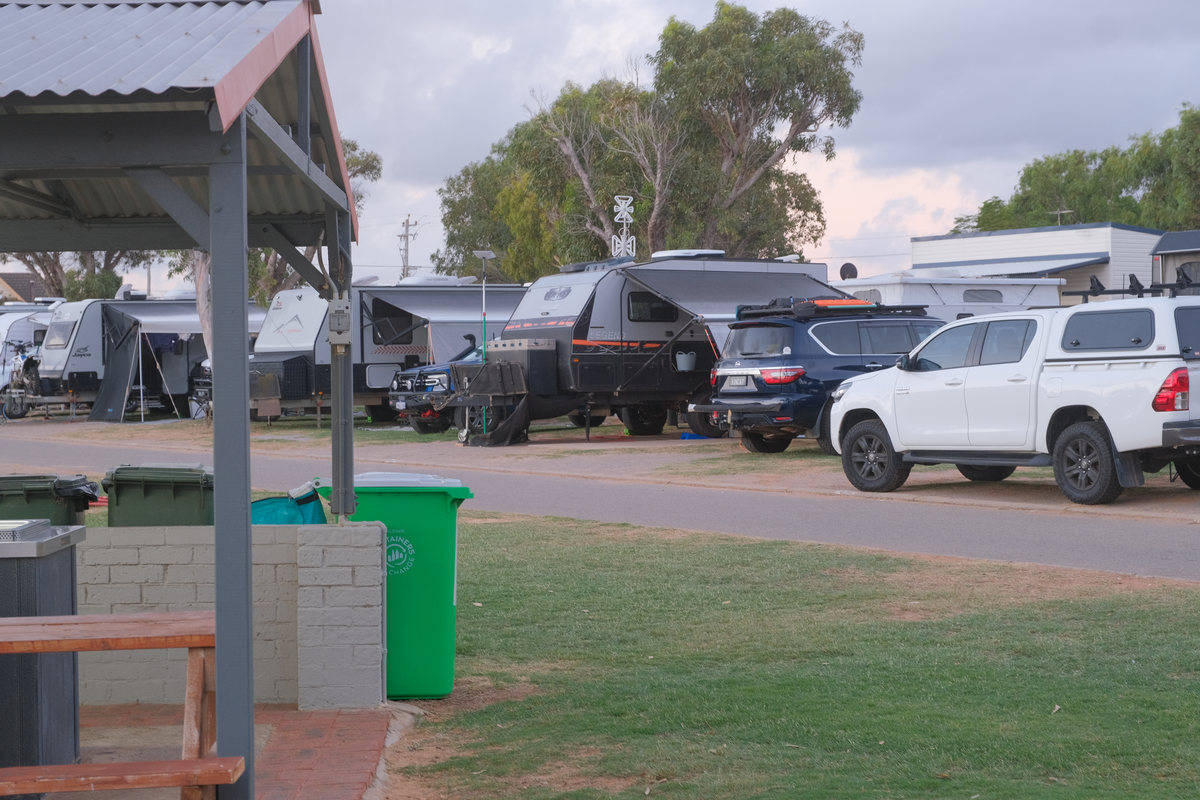
The camping area itself is a large, level expanse of red dirt. It is easy to find a spot, even for larger caravans and motorhomes, but it is completely exposed with virtually no shade or wind protection. The lack of trees does have one advantage though, with nothing shading our solar panels we had no trouble keeping the batteries charged during our stay. We were fortunate that the weather stayed fairly calm during our stay, but on the morning we left the wind picked up and the red dust quickly became noticeable.
The camp sits close to the main road, with the iron ore railway also nearby. At night you can see the brightly lit rail line and hear the constant activity that keeps Port Hedland operating around the clock. If you’re looking for peace, quiet and a bush camping atmosphere, this probably isn’t the right stop. If, however, you simply want a convenient free base close to town, it serves that purpose well.
Port Hedland’s town centre, rather than South Hedland, is only about a five-minute drive away. This is where you’ll find the waterfront viewing areas to watch the huge bulk carriers arriving and departing the harbour. Even closer to the campground are a Woolworths, BP service station and BWS, making it easy to stock up on supplies.
While exploring the port precinct we found an interesting visitor information area, a café operating out of a converted railway carriage, and several tour options. We decided to take the harbour ship tour and thought it was well worthwhile. It provided an excellent insight into the scale of the port and just how much iron ore passes through Port Hedland every day.
The town itself felt surprisingly quiet while we were there, with very few tourists around. The caretaker mentioned visitor numbers had been lower than usual. We felt comfortable staying at the campground, although we were advised to lock up valuables whenever leaving camp, which is sensible advice for most camps close to larger towns.
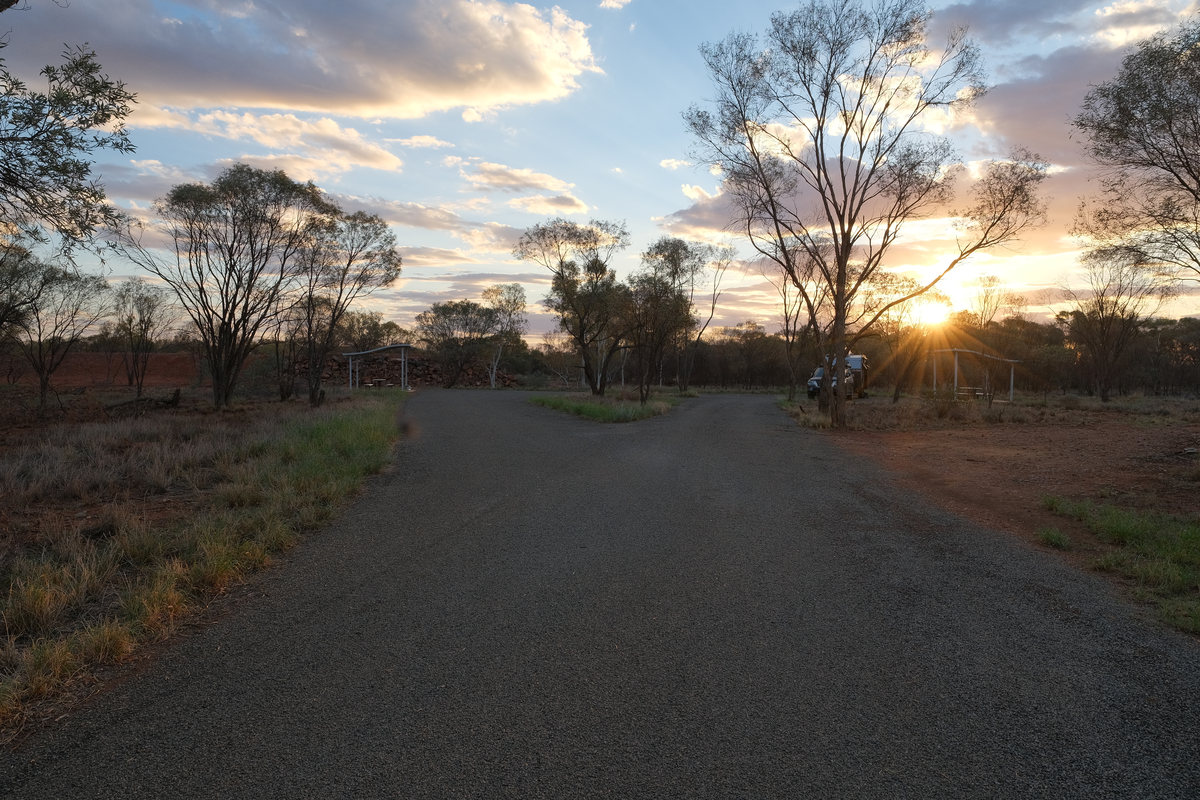
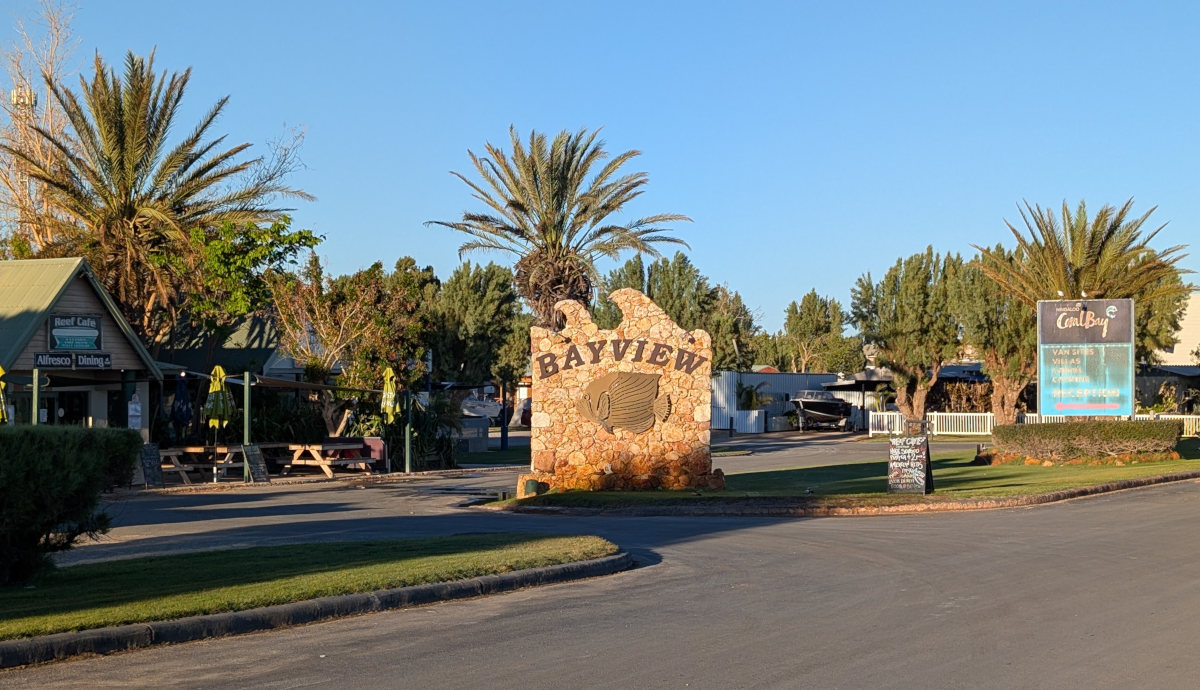
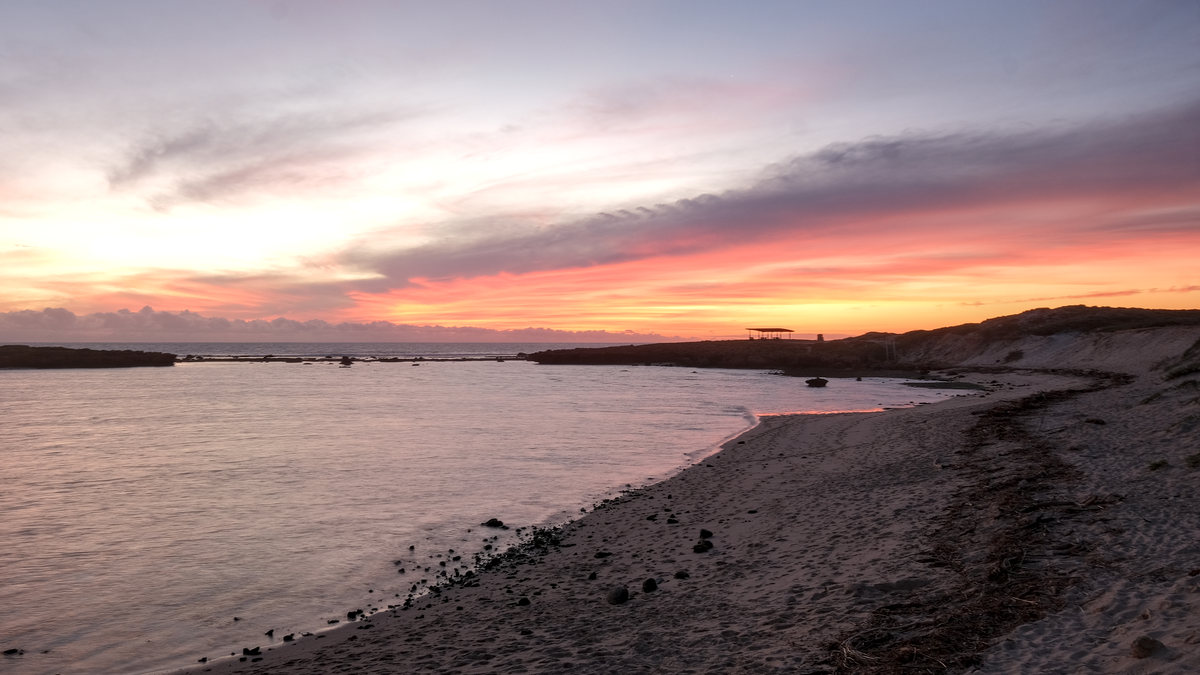
Some Pics


Summary
We would happily stay at Port Hedland Turf Club again. It is not a destination campground with shady trees, peaceful bush surroundings, or extensive facilities, but it isn’t trying to be.
Instead, it provides exactly what many self-contained travellers need: a safe, level place to park for a few days with easy access to water, a nearby dump point, shops, fuel, and everything Port Hedland has to offer. The lack of trees also meant our solar panels performed well throughout our stay, making it an easy place to remain off-grid.
If you’re passing through Port Hedland or want a convenient base to explore the town and port, the 72-hour free camp at the Turf Club is well worth considering. As long as you arrive fully self-contained and know what to expect, it offers excellent value for a free stay.
Thanks for reading Port Hedland Turf Club – Freecamp. Shadow, the van, and the two of us will catch you at the next campsite.
If you enjoy this kind of content, you can sign up for the newsletter. You’ll get an email when a new post goes live (usually around 4–6 a month), plus a monthly wrap-up.