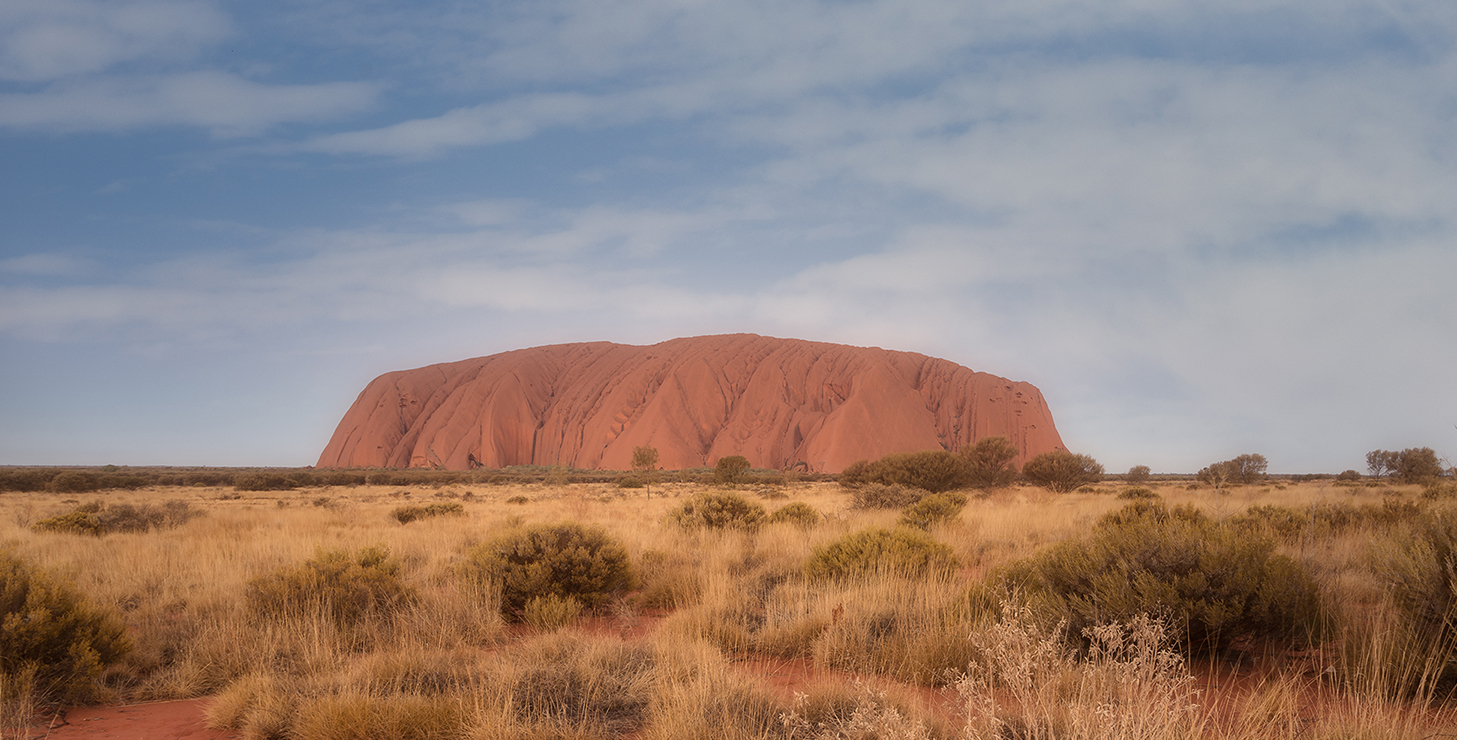
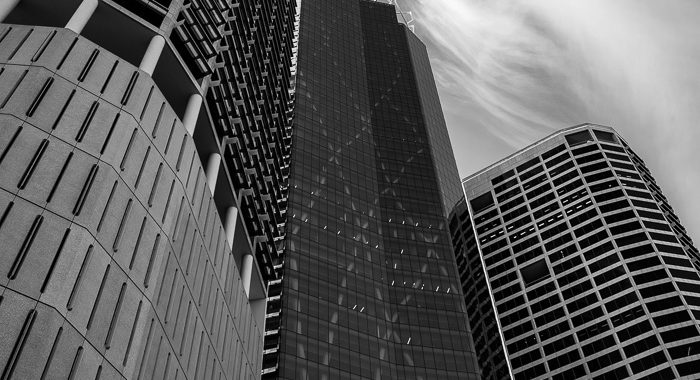
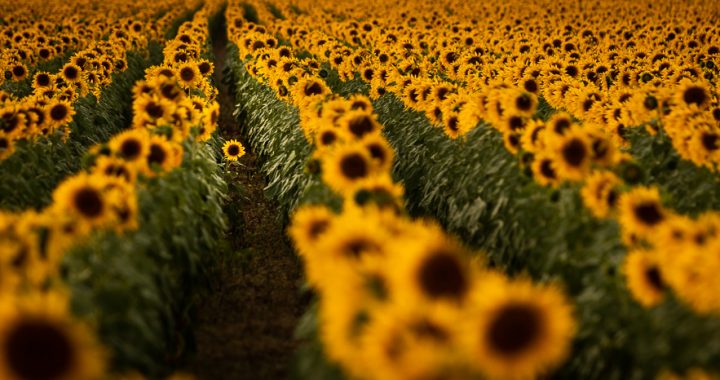
- Canon 6D Mark II
- iso 100
- 30 sec. at f/13, 16 mm
Author: Vincent
-
Link – Luminar 3 Libraries Tips
Jim Nix demonstrates 10 tips to help you get the most out of Luminar 3 libraries. he shares tips ranging from the file history, to file organization, working with the Trash folder, viewing file names in library view, moving presets (looks) and workspaces, ratings and more.
-
Link – Are These Photographers Cheating?
Are these photographers CHEATING? What constitutes cheating in photography? How much image manipulation is allowed before an image becomes a lie? Is anything game in these days of advanced post-production? In this video, Jamie Windsor looks at photographs that walk a line between truth and lies. Some have caused much controversy, some have been accepted as fine. What is it that really matters in photography? Are our expectations of ‘truth’ too high?
-
Link – Luminar 3 with Photo Libraries
The long-awaited update to Skylum Software‘s photo editor adds in-app photo library management, which the company says is the first step toward building out a complete Digital Asset Manager (DAM). Called ‘Luminar with Libraries’, this version more directly competes with applications that organize your photos, such as Adobe Lightroom Classic CC and Lightroom CC. Luminar 3 arrives December 18, runs on macOS and Windows, and is a free update for owners of Luminar 2018.
Read more at DPReview.com
-
Link – Why are Camera Lenses so Big and Heavy
An article explaining the physics of lens design.
https://www.howtogeek.com/393047/why-are-camera-lenses-so-big-and-heavy/
-

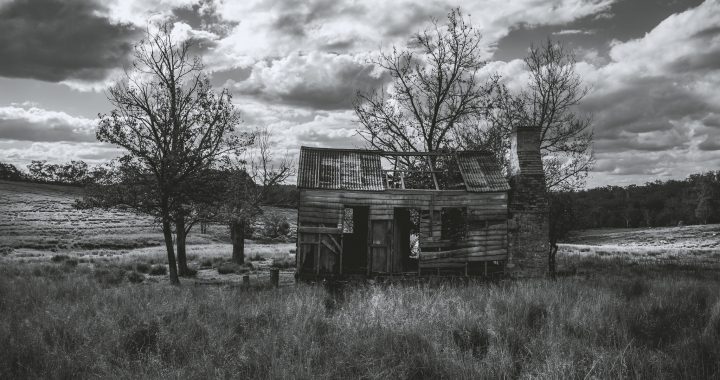
Pic of the Day – Waterfalls
Taken during a holiday in 2014, New Zealand South Island somewhere.
Canon EOS 40D
ISO 100, 1/15sec, f2.8, 13mm
-

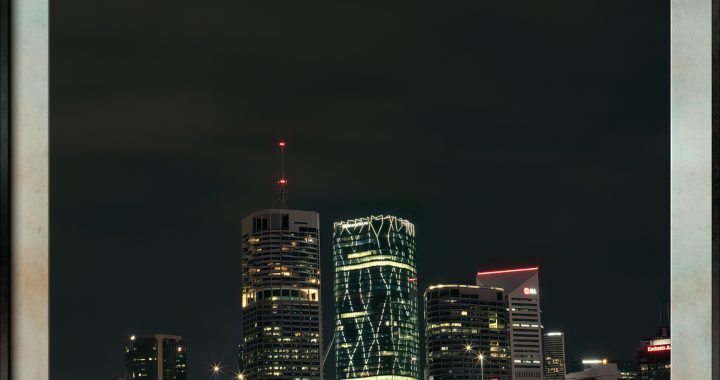
Pic of the Day – Sydney from the Sky Tower
Took this from the Sky Tower at sunset. Difficult to do when the room is going around.
-
Link – Topaz Studio Masking
I have been playing around with Topaz Studio, and one of the areas which I have been learning about is masking.
Here is a link demonstrating how to use color overlay to help with more precise masking.
-

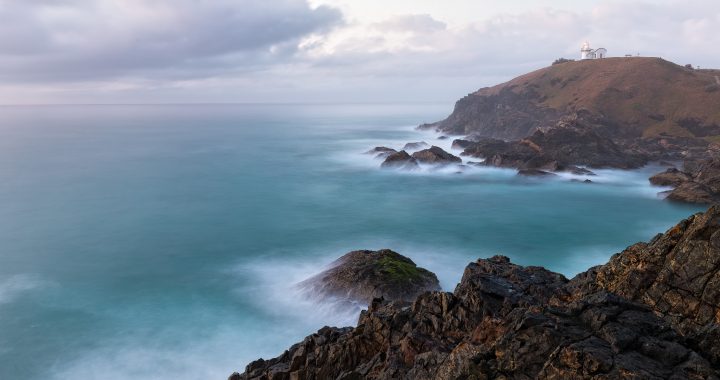
Pic of the Day – Byron Bay Lighthouse 2016
Canon 70D, 20sec, f9, 17mm
Processed using Lightroom and Topaz Studio.
-

My Thoughts on Topaz Studio AI Clear
What is AI Clear?
AI Clear is a pro adjustment plugin which has to be paid for separately once you have Topaz Studio.
A quote from Topaz Labs:
AI Clear™ is a powerful Pro Studio Adjustment that removes noise and sharpens detail in photos automatically.
AI Clear not only achieves much higher quality result than existing products but does so automatically without the need for any manual tweaking.
What is Topaz Studio?
Topaz Studio is a free application which comes with basic image adjustments. You can develop raw files in Studio as a standalone product or you can use it as a plugin to Lightroom or Photoshop.
While you may say that noise reduction can be done in Lightroom and Photoshop, they do require some skill in using the sliders. What I have found is that by sending the files through AI Clear from Lightroom you can minimize the time required to clean up an image.
Below is a screenshot of Topaz Studio. In the menu on the right, you can see some items are colored blue, they are the ones that either came with Studio or I have bought. The ones in gray you can get on a 30-day trial or pay for them.
To find out more have a look at this Topaz Labs help page.

Topaz Studio 
AI Clear The above example shows that I am using the AI Clear in trial mode, which has 21 days left. If I decide to buy it then I just have to click on the Go Pro link and it will take me to Topaz Labs to purchase the plugin.
Some examples
I had to go back several years in my Lightroom catalog to find some challenging image examples. I don’t often shoot with high iso if I can avoid it.
I used the Medium model Strength on all these images, Low didn’t seem to make much difference to me. These images were processed in Lightroom with the Auto develop function used.
- Canon EOS 6D Mark II
- 1/800 sec. f/5.6 600 mm, iso 12800
[twenty20 img1=”1358″ img2=”1357″ offset=”0.5″ before=”Before” after=”After”]
- Canon PowerShot G7 X Mark II
- 1/500 sec. f/2.8 16.583 mm iso 800
- compact point and shoot in underwater housing
[twenty20 img1=”1371″ img2=”1372″ offset=”0.5″ before=”Before” after=”After”]
- Canon EOS 70D
- 1/200 sec. f/5.6 59 mm iso 3200
- under-exposed
- not a great lens
[twenty20 img1=”1373″ img2=”1374″ offset=”0.5″ before=”Before” after=”After”]
- Canon EOS 40D
- 1/3200 sec. f/6.3 33 mm iso 1600
[twenty20 img1=”1383″ img2=”1384″ offset=”0.5″ before=”Before” after=”After”]
Summary
The above examples give you some idea of what can be done by only selecting one of three buttons. No mucking around with sliders and masks, which makes this an easy plugin to use and get good results.
Obviously more can be done to the images like adding more contrast, but for the purpose of this demo, I have kept it simple.
At the end of the day, you have to justify the expense for yourself. With a thirty day trial, you can give the plugin a good test and see if it is worthwhile.
If you have any thoughts or comments, then please leave a comment.
-
LINK – Aurora HDR 2019 First Look and Preorders
A link to a video from Jim Nix showing the new features of Aurora HDR 2019.
If you like HDR then this software is one of the best to get.
Pre-order discounts apply.